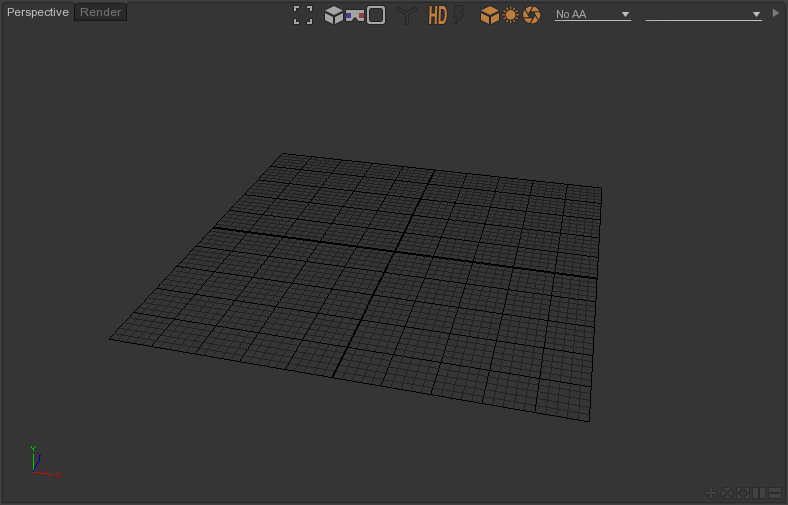
Viewport
The viewport displays the document nodes from any aiming nodes in a 3D view.

- Select the node in a Browser or Node List view.
- Drag and drop it to the Viewport.
It's also possible to display only a specific part of the 3d scene.
- Select one or multiple nodes in a Browser or Node List view.
- Drag and drop the selection to the Viewport. A checkbox will appear on the right side that let you toggle display of specific or all nodes.
Selection
You can perform single, multiple, all, none and hierarchy selection of Viewport nodes.
- Select a single object by
 -clicking on it.
- Select multiple nodes by holding
 in the Viewport then moving.
This creates a selection trap where all nodes partially or totally inside are selected when releasing the mouse button.
- Select the Viewport by clicking inside.
- Select all nodes by using 'Menu bar > Select > Select All' or '
 > Select > Select All' or by pressing Ctrl+A.
- Select the Viewport by clicking inside.
- Select none by using 'Menu bar > Select > Select None' or '
 > Select > Select None' or by pressing Ctrl+D.
- Select the Viewport by clicking inside.
- Select node hierarchies by using 'Menu bar > Select > Select Hierarchy' or '
 > Select > Select Hierarchy'.
The whole hierarchy for each node in the previous selection get added to the new selection.
Selection modifiers
By default when performing a new selection, the previsous selection (if there is one) is always discarded. You can use following selection modifiers for specifying how the new selection get combined with the previous one.
- Additive
- Subtractive
- Inverse
The modifiers are used for both single and multiple selections.
- Enable additive modifier by holding Shift+Ctrl before performing a single or multiple selection. The new selection get added to the previous selection.
- Enable subtractive modifier by holding Ctrl before performing a single or multiple selection. The new selection get subtracted to the previous selection.
- Enable inverse modifier by holding Shift before performing a single or multiple selection. The nodes in the new selection get added to the previous selection only and only if they are not in the previous selection.
It's also possible to perform directly an inverse selection.
To select using inverse modifier
- Select the Viewport by clicking inside.
- Inverse select nodes by using 'Menu bar > Select > Select Invert' or '
 > Select > Select Invert'.
Buttons
- Frame: Frame to selection/scene
- Toggle Render Mode: Toggle between wireframe and filled rendering
- Stereo Mode: Enable/disable stereo rendering
- Alpha Mode: Toggle region render background between transparent, checker and black
- Render Selection: Render only selected nodes
- High Definition: Render in High/Low Definition
- Progressive: Enable/Disable the progressive rendering
- Primitives: Display primitives
- Lights: Display lights
- Cameras: Display cameras
- Antialiasing: Display the Viewport using multisampling, enabling spacial antialiasing, depth of field and motion blur preview
- Selection: Display scene graph nodes owning one or more specified tags.
Controls
Camera controls are similar to those of Autodesk Maya.
- Alt+
 to rotate the camera
- Alt+
 to translate the camera
- Alt+
 to zoom in/out the camera
Types
A Viewport displays document nodes of the following types:
- Primitive
- Procedural
- Light
- SystemCamera
- Camera
- MayaCamera
- Target